20 Feb How to Turn On My Internet After Switching ISPs: A Step-by-Step Guide
Congratulations on taking the bold step to switch your Internet Service Provider (ISP) – whether for faster speeds, enhanced customer service, or a change of pace. Kudos for seizing the opportunity! Now that you’ve committed to the new ISP, the next exciting phase is to turn on my internet seamlessly. Don’t worry; I’m here to navigate you through this journey step by step.
Switching ISPs marks the beginning of a fresh internet experience. With the right guidance, this transition becomes smoother than you might expect. From setting up the equipment provided by your new ISP – the modem and router – to ensuring the proper connections, every step inches you closer to turning on your internet with your new provider.
Stay tuned as we explore activation procedures, verifying connections, and fine-tuning settings to bring your internet to life with the new ISP. It’s an exhilarating moment, marking the start of a new chapter filled with faster speeds and an enriched online experience.
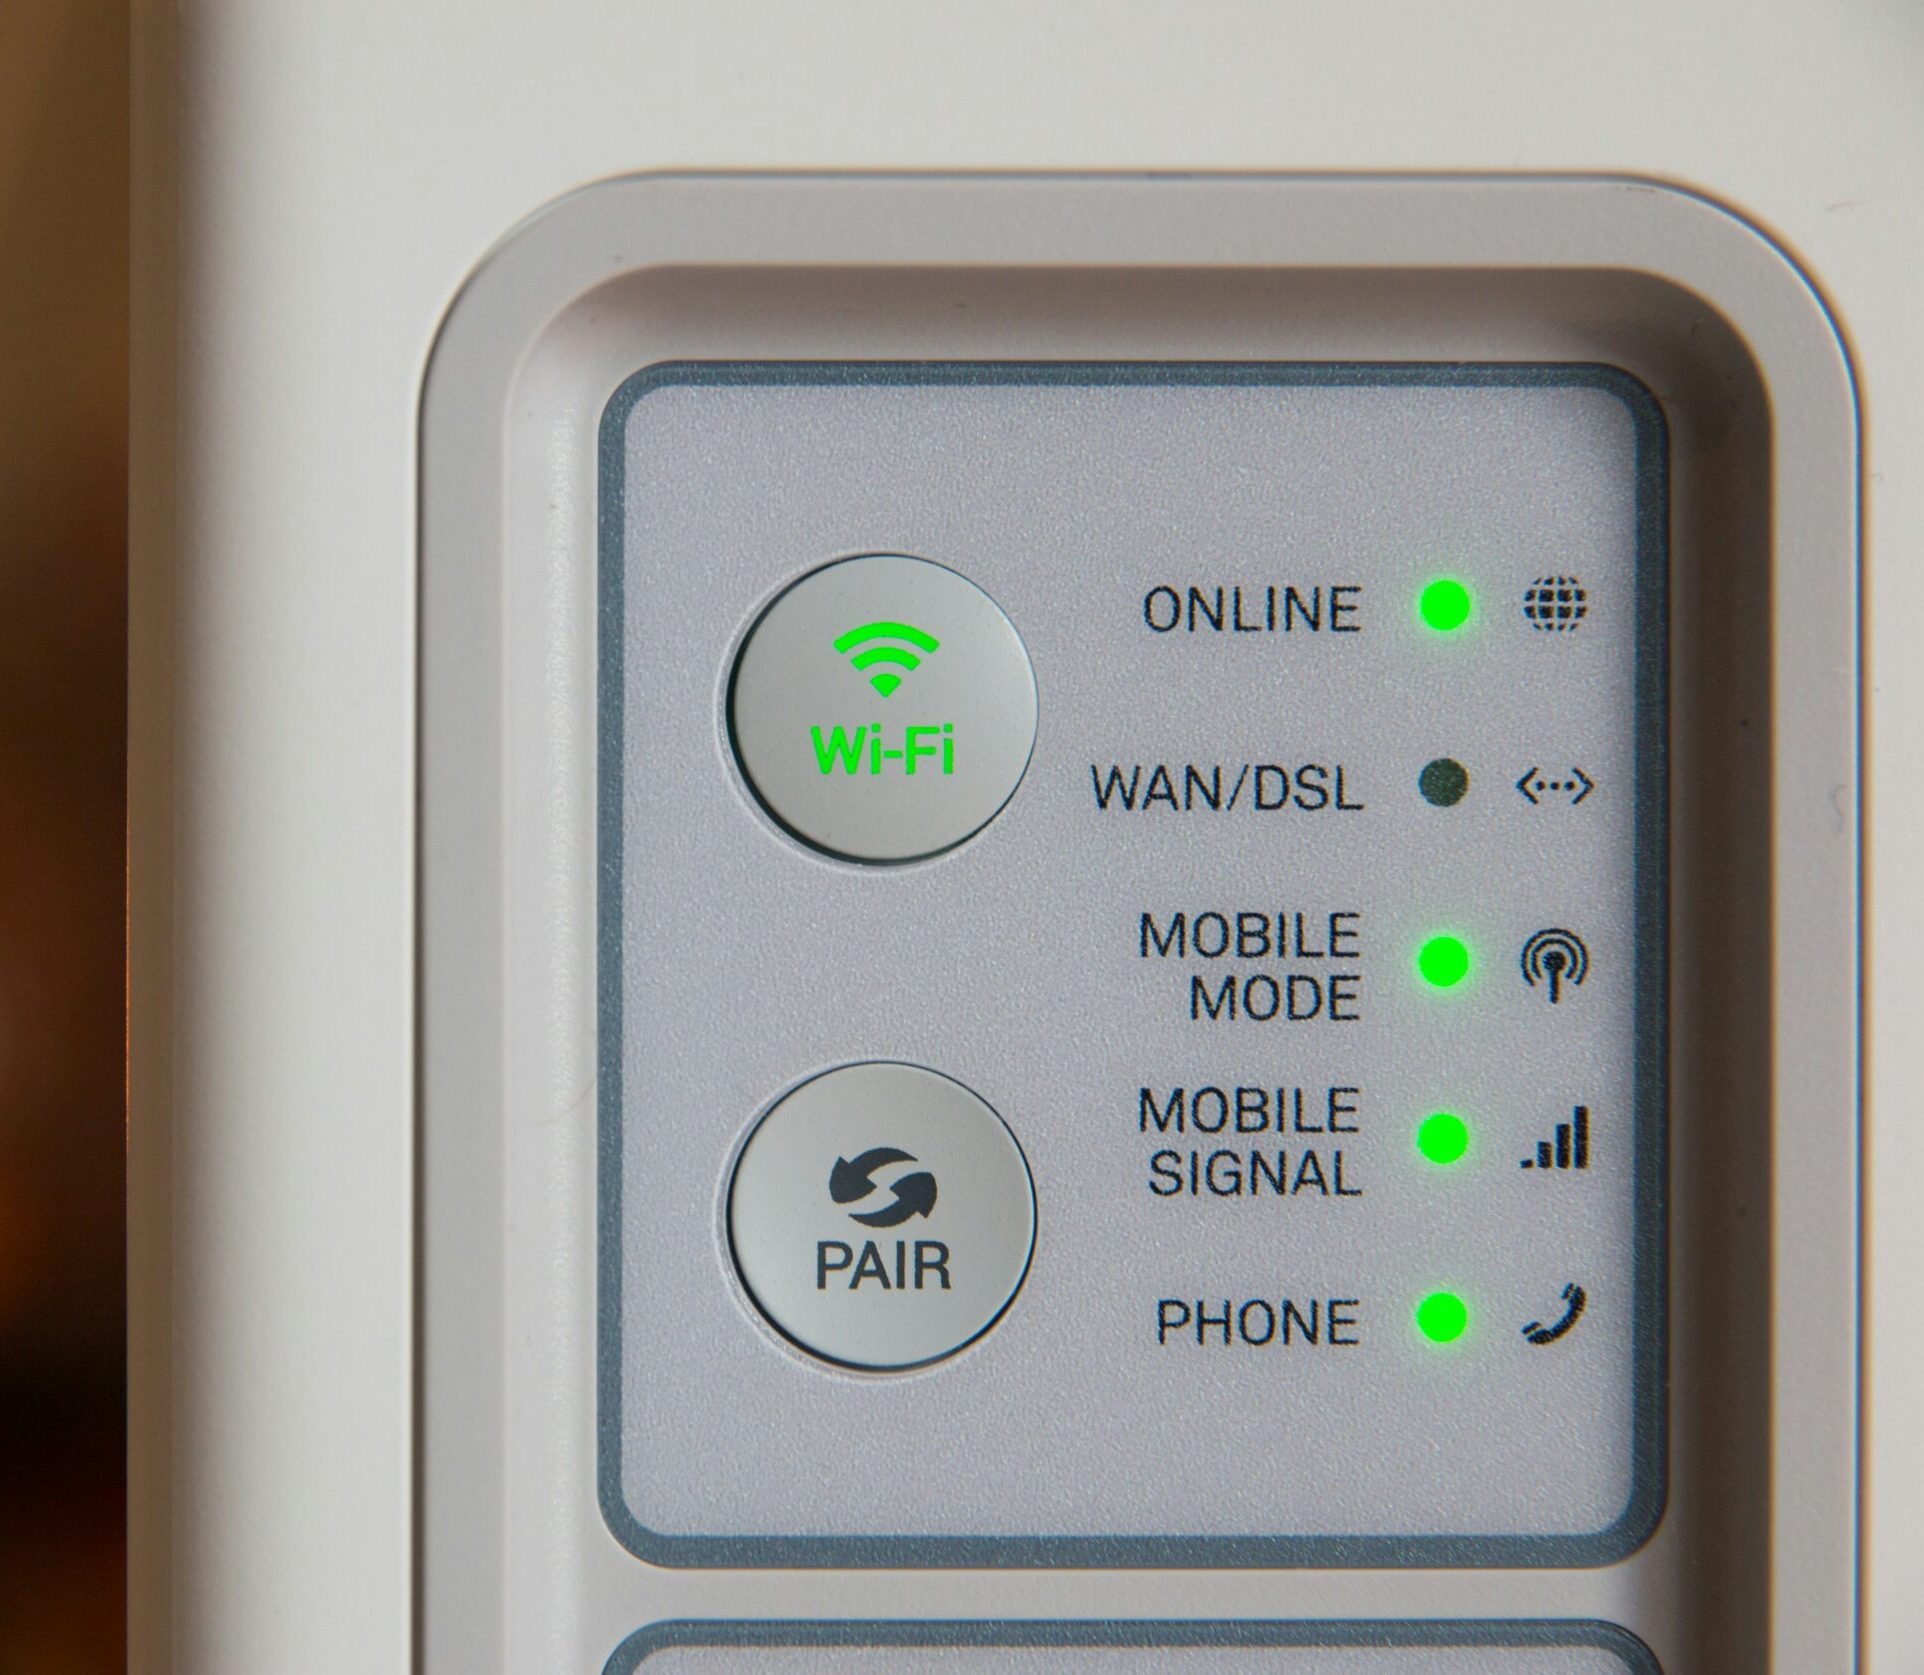
- Set Up the Equipment
Following your ISP switch, setting up the gear from your new service provider kickstarts the process to turn on my internet. Unveil the modem and router and heed the installation guide closely. Securely plug the modem into a power outlet and establish the necessary connections between the router, modem, and your computer. This pivotal step ensures the hardware foundation for your internet connectivity is in place. By meticulously adhering to the provided instructions and making certain of proper connections, you’re laying the groundwork for a successful transition to your new ISP, paving the way for a seamless online experience.
- Connect Your Devices
Once your hardware is set up, it’s time to connect your devices to the new network. Using an Ethernet cable or the Wi-Fi network name and password provided by your new ISP, connect your computer, smartphone, and any other Wi-Fi-enabled devices to the network. For Wi-Fi connections, search for the network name (SSID) on your device and enter the password when prompted.
- Activate Your New Service
Activating your new internet service is pivotal to turn on my internet and experience seamless connectivity. Most ISPs mandate this step before full functionality. Whether it’s online registration or a call to their customer support, follow your ISP’s instructions meticulously. Be ready with your account details or modem’s serial number as this information might be required during the activation process. This crucial step ensures that your new service is officially initiated, allowing you to dive into the digital realm with your new ISP hassle-free. Follow their guidelines diligently, and soon enough, your internet will be up and running at its full potential.
- Check Connectivity
Once activation is complete, check your connectivity. Open a web browser and try accessing a few websites to ensure that your internet connection is working correctly. If you encounter any issues, restart your modem and router. Sometimes, it might take a few minutes for the connection to stabilize after activation.
- Configure Router Settings
Accessing your router’s settings is pivotal for maximizing performance and security. Simply enter the router’s IP address in your browser and input the login credentials (usually on the router or in the manual). Once logged in, a world of customization awaits! Here, tailor your network settings, revamp the Wi-Fi password, and implement parental controls among other options. It’s not just about changing settings; it’s your chance to fine-tune and optimize before you turn on my internet. This hub of configurations empowers you to craft a secure and personalized network environment, ensuring a smoother and safer online experience for all connected devices.
- Update Network Settings on Devices
If you had specific network settings configured on your devices for the previous ISP, it’s essential to update these settings to match the new network. For instance, if you had a static IP address or DNS server settings, you might need to reconfigure these settings to align with your new ISP’s requirements.
- Contact Customer Support if Needed
Facing hiccups during setup or experiencing unexpected internet woes? Fear not, for your new ISP’s customer support is your beacon of hope. Don’t hesitate to contact them if you encounter any glitches while setting up or if your internet doesn’t turn on as anticipated. Their dedicated team stands ready to assist, offering valuable guidance and troubleshooting expertise. Whether it’s resolving connectivity problems or clarifying setup instructions, their support is invaluable. Remember, their sole aim is to ensure you seamlessly turn on my internet and enjoy a hassle-free browsing experience.
- Consider Additional Services or Bundles
While you’re in the transition phase, it’s an excellent time to explore additional services or bundles offered by your new ISP. They might have enticing offers for TV streaming, home security, or faster internet speeds. Take the opportunity to evaluate these options and decide if they align with your needs.
- Test Your Internet Speed
Once you’ve checked all the connections and settings, it’s time to ensure everything’s running smoothly. Testing your internet speed becomes crucial at this stage. Several online tools allow you to measure your internet speed accurately. This step is vital to gauge whether you’re truly getting the speeds pledged by your new ISP. It’s a pivotal moment to turn on my internet and see if it aligns with the promised rates. This test enables you to pinpoint any potential adjustments needed for optimizing your internet’s performance and ensuring you’re getting the most out of your new service.
- Enjoy Your New Internet
Voilà! You’ve successfully switched ISPs and set up your new internet connection. Now it’s time to sit back, relax, and enjoy your faster, more reliable internet. Stream your favorite shows, video call your friends and family, or dive into online gaming without worrying about connection issues.
Final Say
Switching ISPs can initially feel overwhelming, but fear not! With proper guidance, transitioning to a new provider and turn on my internet becomes a breeze. Patience is key as you unbox and set up the new modem and router. Once connected, activating your service marks the pivotal moment to turn on my internet with excitement. Should any issues arise, take a moment, follow the step-by-step instructions meticulously, and reach out for support if needed. Embrace this change as an opportunity to enhance your online experience. Remember, troubleshooting is part of the process, so don’t let any hiccups discourage you. Soon enough, you’ll be delighting in faster speeds, seamless streaming, and smoother browsing. So, take the leap, follow the steps, and relish the joy of turn on my internet with my new ISP! Happy browsing awaits!
About Bytagig
Bytagig is dedicated to providing reliable, full-scale cyber security and IT support for businesses, entrepreneurs, and startups in a variety of industries. Bytagig works both remotely with on-site support in Portland, San Diego, and Boston. Acting as internal IT staff, Bytagig handles employee desktop setup and support, comprehensive IT systems analysis, IT project management, website design, and more. Bytagig is setting the standard for MSPs by being placed on Channel Future’s NexGen 101 list.
Share this post: